![Comprehensive Walkthrough: Setting up Arduino Nano Driver on a Windows Machine [Solved]](https://thmb.techidaily.com/e12cb801e0d6f6813ed277d29658e5821adadea3db742df23467e5bb2d5168a7.jpg)
Comprehensive Walkthrough: Setting up Arduino Nano Driver on a Windows Machine [Solved]
Arduino Uno and Windows: Fixing the Drivers Compatibility Concerns

Fails to connect your Uno board with Windows computer? Don’t panic. This post is going to walk you through how to fix it easily.
Usually your Uno board not recognized properly problem is due to its driver problem. You can solve it throughupdating your Arduino Uno driver . See how…
Pick the way you prefer
 vMix Basic HD - Software based live production. vMix Basic HD includes 4 inputs, 3 cameras, streaming, recording, playlist.
Option 1: Update your Arduino Uno driver manually
You’ll need some computer skills and patience to update your drivers this way, because you need to find exactly the right the driver online, download it and install it step by step.
See how to do it:
The screenshots below are from Windows 10, but the steps are also valid for other Windows system.
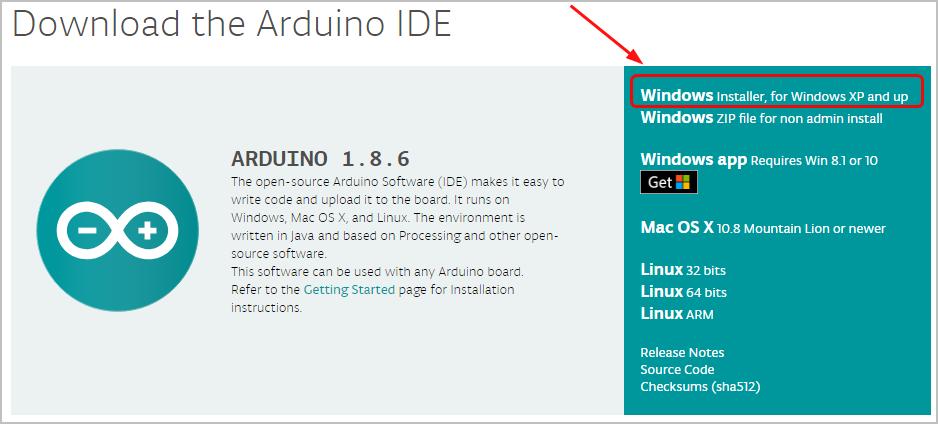
- Go to theofficial Arduino website . Then go to theSoftware Downloads section.
- ClickWindows Installer, for Windows XP and up .
- Click Just Download. The driver .exe installation file would then be downloaded automatically.
- On your keyboard, hold down theWindows logo key and then pressPause .
- ClickDevice Manager .
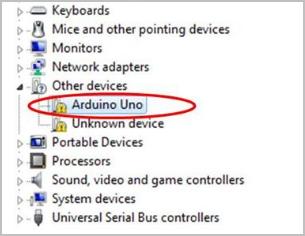
- Find andright-click yourArduino Uno software . Probably it’s listed under theOther devices section due to the problem. Then selectUpdate driver .
- SelectBrowse my computer for driver software .
Easy and Safe Partition Software & Hard Disk Manager
- Click theBrowse… icon. Another window appears: go to the folder with the Arduino uno driver that you just downloaded. Select the drivers folder, thenOK >Next .


 Easy and Safe Partition Software & Hard Disk Manager
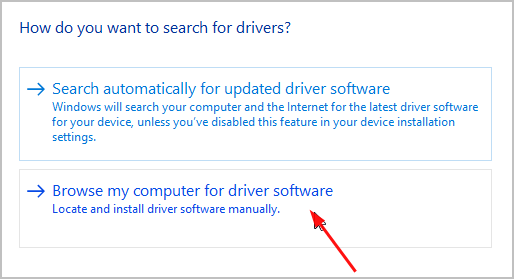
If you’re prompted by the message that the board has not passed Windows Logo testing, clickContinue Anyway .
The Arduino Uno drivers should then be completely installed on your compouter.
If you don’t have the time, patience or computer skills to update your Arduino Uno driver manually, you can do it automatically with Driver Easy . Move ontoOption 2 then.

Option 2: Update your Ardunio Uno driver automactically
Driver Easy will automatically recognize your system and find the correct drivers for it. You don’t need to know exactly what system your computer is running, you don’t need to risk downloading and installing the wrong driver, and you don’t need to worry about making a mistake when installing.
You can update your drivers automatically with either theFREE or thePro version of Driver Easy. But with the Pro version it takes just 2 clicks:
- Download and install Driver Easy.
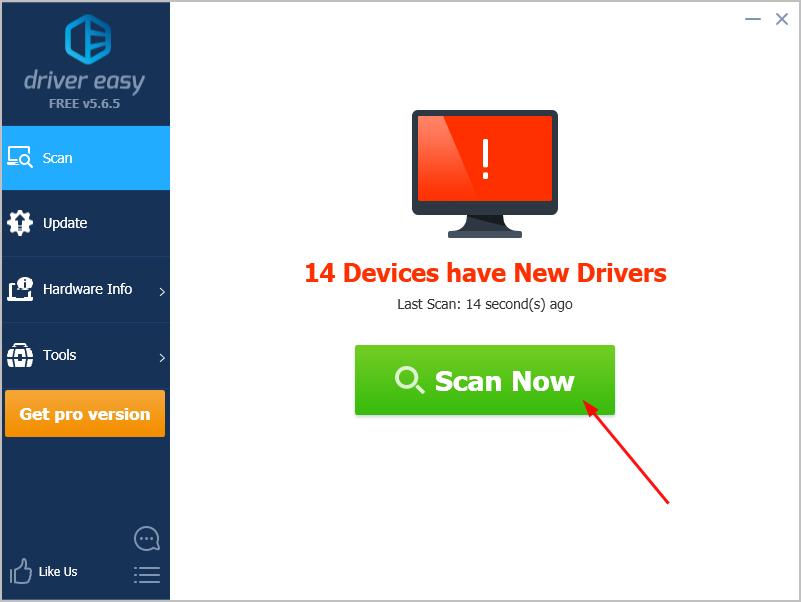
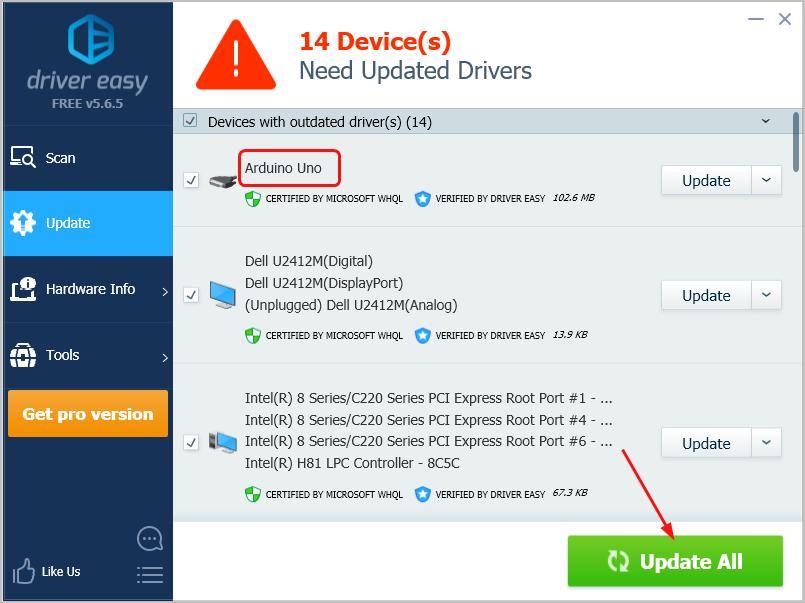
- Run Driver Easy and click theScan Now button. Driver Easy will then scan your computer and detect any problem drivers.
- ClickUpdate All to automatically download and install the correct version of all the drivers that are missing or out of date on your system (this requires the Pro version – you’ll be prompted to upgrade when you click Update All).
Note: You can do itfor free if you like, but it’s partly manual.
If you have any problems while using Driver Easy, feel free to contact our support team at**support@drivereasy.com ** . Be sure to attach the URL of this article if needed for more expedient and efficient guidance.
That’s it. Your Uno board should be connected to your Windows computer successfully now. Feel free to comment below if you have any questions.
- Title: Comprehensive Walkthrough: Setting up Arduino Nano Driver on a Windows Machine [Solved]
- Author: Charles
- Created at : 2024-08-18 13:04:52
- Updated at : 2024-08-19 13:04:52
- Link: https://win-amazing.techidaily.com/comprehensive-walkthrough-setting-up-arduino-nano-driver-on-a-windows-machine-solved/
- License: This work is licensed under CC BY-NC-SA 4.0.