
Step-by-Step Guide: Adding a Checkbox Control in Your Excel Spreadsheet
Step-by-Step Guide: Adding a Checkbox Control in Your Excel Spreadsheet
Quick Links
If you want to create a checklist or a basic form in your spreadsheet, one control you’ll need is an interactive check box. You can insert and format a check box in Excel in just a few clicks.
How to Add a Check Box in Excel
In order to work with form controls in Excel like a check box, you’ll head to the Developer tab. If you don’t see this with your other tabs at the top, take a look at how to add the Developer tab in Excel .
Go to the Controls section of the ribbon and click the Insert drop-down arrow. At the top of the pop-up menu under Form Controls, select “Check Box”.

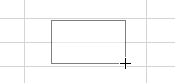
You’ll see your cursor turn into a crosshairs symbol. Click and drag to draw the check box on your sheet where you want it and release. You can resize the check box after you initially draw it by dragging a corner or edge.
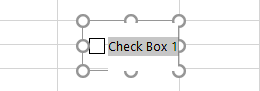
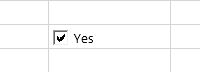
When the check box pops onto your sheet, it includes a default name, Check Box 1. You can change that text by selecting it and typing the new text or by right-clicking the control and choosing “Edit Text.”
And there you go! You have a check box ready for use in Excel. Click the box to check it and again to uncheck it.
Related: How to Create a Basic Form in Microsoft Excel
Format a Check Box in Excel
You can display the check box as checked, unchecked, or mixed as well as apply it to a particular cell and add shading.
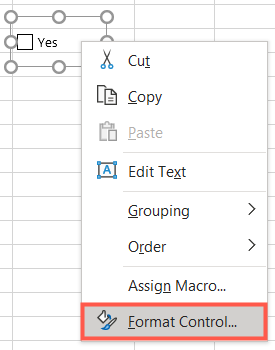
Right-click the check box control and choose “Format Control” from the menu.
When the Format Control window opens, confirm that you’re on the Control tab. You’ll then see the Value options at the top to choose from for how you want the box to display.
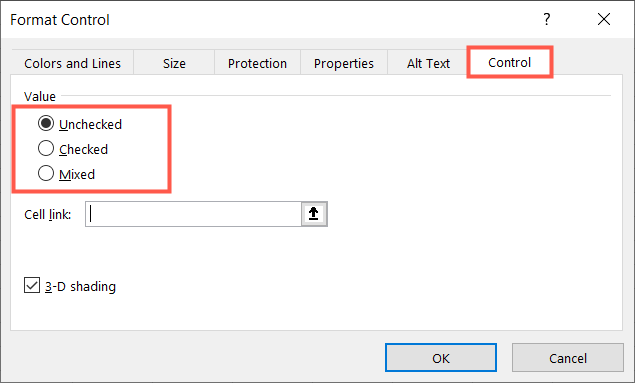
The Mixed option is useful if you use VBA where you want the status of the check box to be neither checked (True) nor unchecked (False) until an action is taken.
Next, you can add a Cell Link if you want to attach the check box to a particular cell. Either enter the cell reference or click inside the Cell Link box and then select the cell on your sheet.
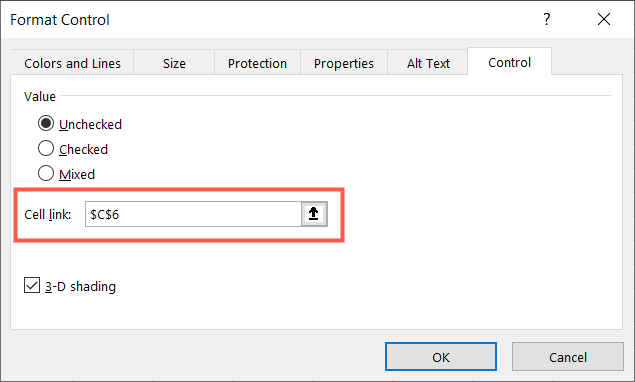
If you want to spruce up the appearance of the check box, you can mark the option for 3-D Shading.

Click “OK” after you finish making your changes and you’ll see your updated check box.
If you don’t need to use an interactive control in your spreadsheet, you can also simply insert a check mark symbol in Excel . Plus, if you’re creating presentations, inserting checkboxes in PowerPoint is a cinch as well.
Also read:
- [New] Essential Online Marketing Strategies for Newcomers
- [Updated] In 2024, Who Wins in Speed Duel? GoPro Hero4 or Drift Ghost-S?
- [Updated] Premier Action Cams with Exceptional Image Stability
- 2024 Approved Best 5 Udemy Subtitle Translator (Auto Translation)
- 信頼性と便利さを重視したトップクラスCorsairデータ移行ソフトウェア - 高い検索エンジン最適化
- Dell DisplayLink Driver for Windows Download
- Easy Steps to Obtain and Install Epson's Latest XP-310 Printer Software Update
- Enhance Your Laptop's Wireless Features - Free Dell Wi-Fi Driver Available Downloads
- How do I reset my ZTE Nubia Z60 Ultra Phone without technical knowledge? | Dr.fone
- Up-to-Date HP Scanjet Drivers for Improved Functionality on Windows Operating Systems: 11/8/7 Supported
- Title: Step-by-Step Guide: Adding a Checkbox Control in Your Excel Spreadsheet
- Author: Charles
- Created at : 2024-12-04 05:38:39
- Updated at : 2024-12-05 18:19:35
- Link: https://win-amazing.techidaily.com/step-by-step-guide-adding-a-checkbox-control-in-your-excel-spreadsheet/
- License: This work is licensed under CC BY-NC-SA 4.0.